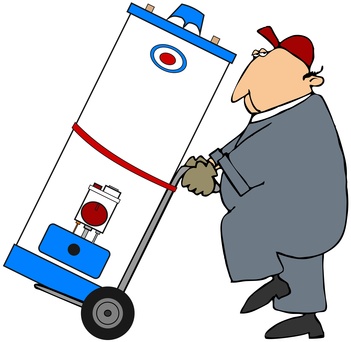
Most water heaters come with a pressure-relief valve already installed, but on occassion they must be installed and often need to be replaced. When the water in your water heater is heated, pressure naturally builds up. Pressure-relief valves make sure that the pressure does not build up too high and cause breaks in the water heater. There are different sizes in pressure-relief valves, so be sure to go by the manufacturers recommendations and consult your local home center representative. In order to install your pressure-relief valve, you should need only an adjustable wrench and some teflon tape.
Installing a Pressure – Relief Valve in Water Heater
These are the steps to installing a pressure-relief valve:
- Tape the threads of your pressure-relief valve with teflon tape. Wrap the tape around the threads in a clockwise rotation. Be sure that all of the threads are covered and none are left exposed. If you are unable to find teflon tape, piping compound may be used as a substitute.
- Use your adjustable wrench to attack your water heater pressure-relief valve to your water heater. Be sure that you tighten it down tightly and that the threads do not become crossed.
- Measure the distance from the floor to the opening in the pressure-relief valve. Cut lengths of CPVC pipe to match your measurements.
- Connect your pipe and the elbow to the pressure-relief valve. Make sure that the end of your pipe is no greater than three inches off of the ground.